It's a real swell start for December! And what better way to start it off is to share what I did for the Groovie December Cover It Challenge!!
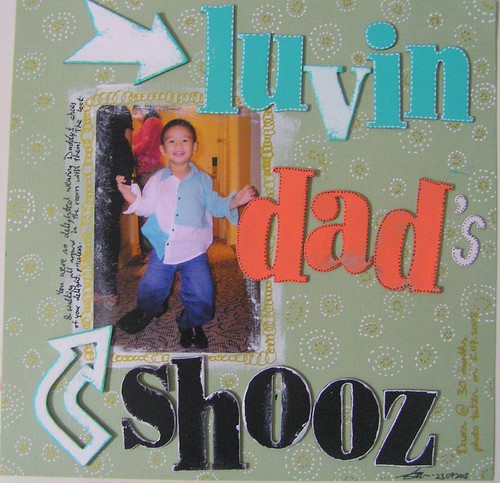
Here's the cover:

Boy! When I first saw this CD cover to be inspired by, I was a little stunned. I thought, ok, 'am gonna be using lots of my Prima stashes for this one.
I procastinated a little to getting it done and as my dateline drew near, I was still a little clueless to what I wanna do.
LOL! (anyone ever get that??)
Anyway, I was going through one of my big plastic boxed on getting some stash out, I found out this hidden treasure:

Yupz! That's the Ikea Rubba 9 x 9" Deep frame
(or shadow box as some of you like to call it)
So, bear with me, I'm gonna let the pictures do the talking.
Photos are taken by my lovely husband, super Dave!
Enjoy the photos!!


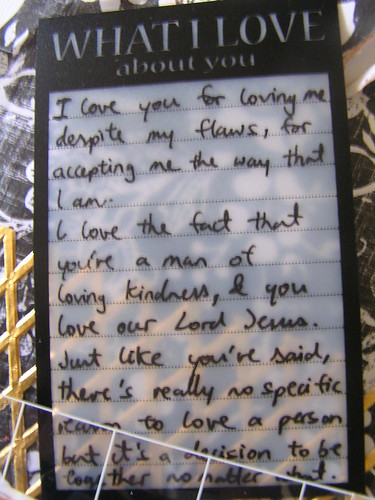
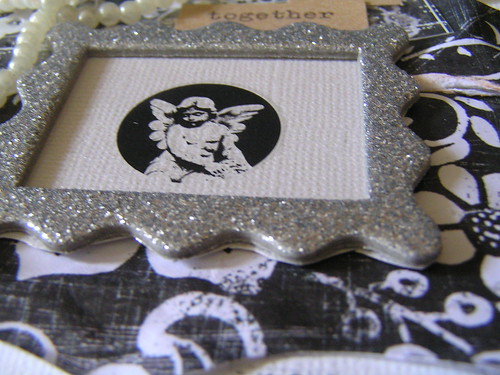
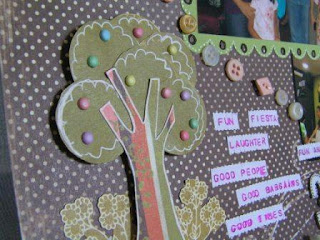
I just love this phrase stamp by Unity Stamps!!! Absolutely lovely!!
I just love this phrase stamp by Unity Stamps!!! Absolutely lovely!!


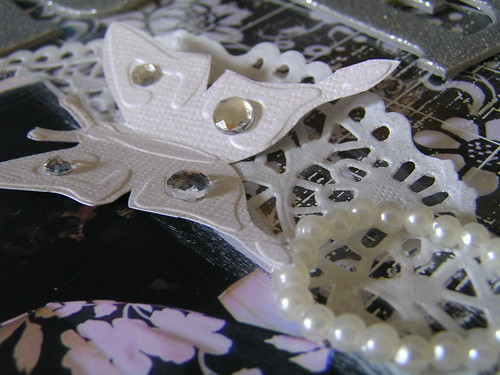
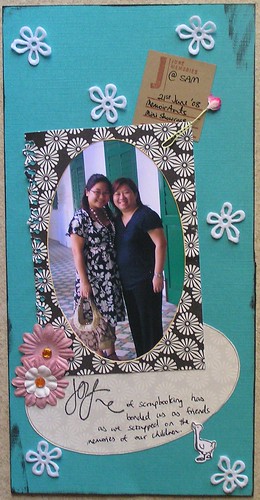
The above gorgeous rub-ons are from the Fancy Pants sheet that I had.

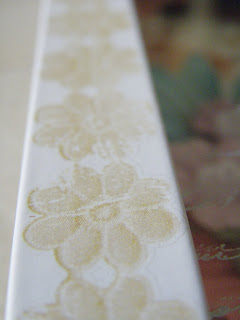
See the familiar stamped Manuscript writings? That's my Hero Arts Manuscript Stamp which I stamped unto the glass using Staz-On Opaque Cotton White. Am loving the effect! Staz-On is great for surfaces like glass, transparency and other non-porous materials.

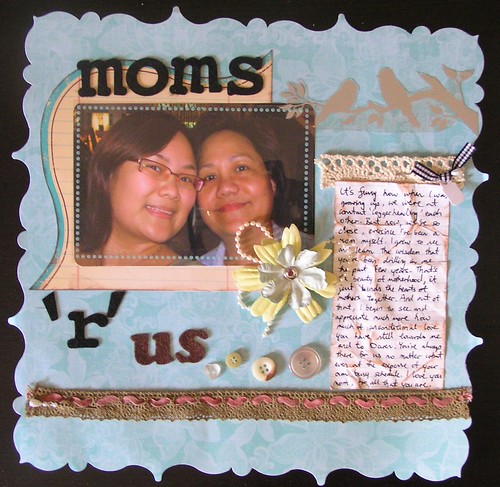
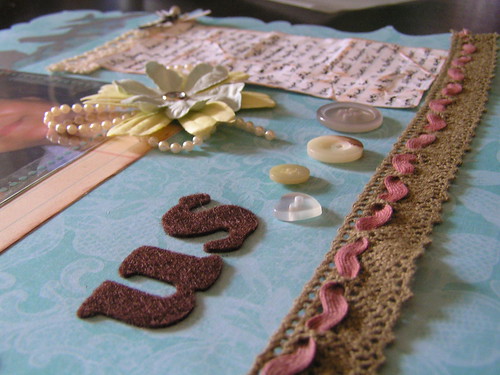
Standing buttons with the help of some Scotch Craft Glue
I hope you liked this piece of work!!
Took me 2 nights (2 hours per night after work) to complete.
Basically, the moment I laid eyes on my stashed away Ikea Shadow box, the ideas just came flooding into my head and I had a perfect Unity Stamp Phrase which I bought at my LSS recently to be used as the center (in place of photos).
My Fancy Pants Rub-Ons (purchased via PeachyCheap spree on my local SB forum) came in really handy too! I used up nearly an entire sheet of rub-ons on this too.
And....
I'm giving this
Altered inspired frame to
It's her birthday present!!! :)
I hope you're inspired too!!
I think I'm gonna make another one for myself to be placed at home!!
LOL!
This cover is not limited to just LOs but to a frame or anything you can think of!
Come play with us over at Groovie or share your take on this cover with me in the comments on this posting!
I would love to see what you come up with yah??